Hardwood Flooring in Windsor
Discover the extensive range of hardwood flooring available at Marquis Tile, offering timeless charm and a comforting atmosphere to any area. Customize each room with a variety of colors, patterns, and textures, thanks to hardwood's versatile nature. Enjoy the long-lasting benefits of solid wood, enduring for over a century, or opt for engineered wood, promising durability for more than 30 years. With easy maintenance and the ability to refinish multiple times, hardwood floors provide flexibility in altering their appearance. Notably, hardwood floors enhance a home's value, making them an investment in both aesthetics and property worth.
Options for your hardwood flooring
The range of hardwood flooring we offer includes the following:
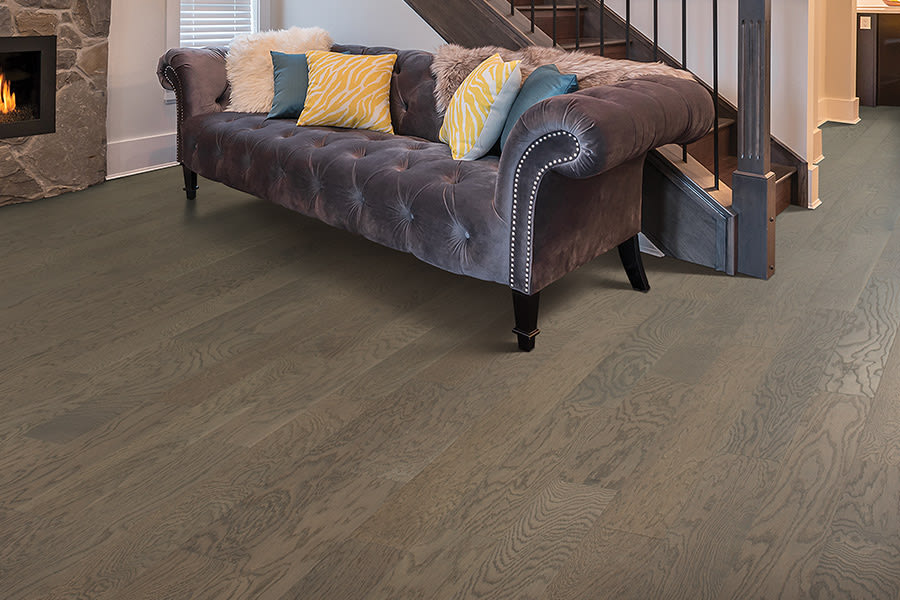
This type of flooring is made of 100% wood, with each board taken from a single solid wood and further cut down to the desired size. Solid wood is preferred by those who want a floor that is completed on-site or who appreciate the appearance of a solid wood floor. Solid wood is attached to plywood flooring and must be installed equally to or above grade level. If not appropriately cared for, solid wood can become vulnerable to humidity levels, which can result in cupping or gaping. The benefit of using solid wood flooring is that it can be refinished multiple times to retain that smooth texture. It is also easy to manage and clean, lasts longer than most hardwood floors and adds charm to your home.
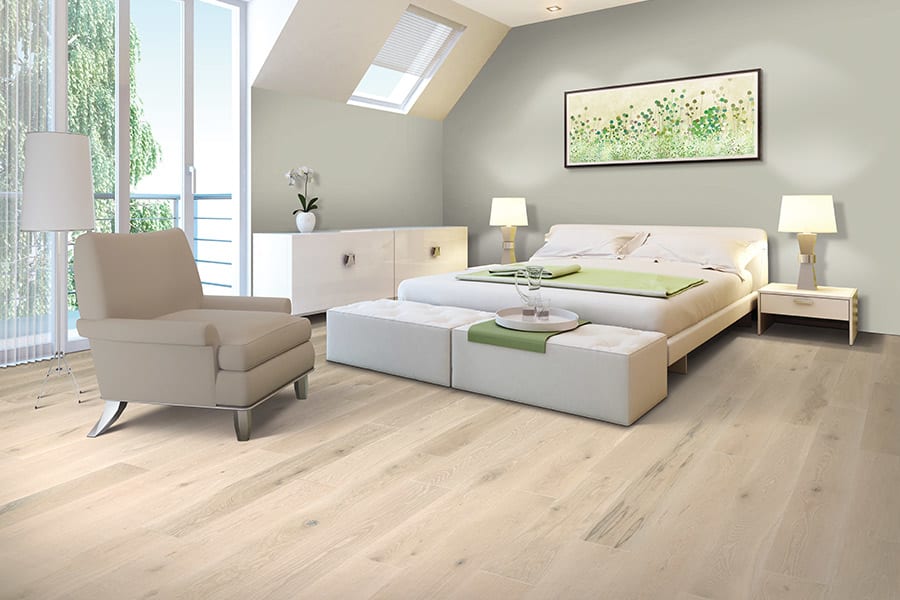
This type of flooring is made from pine and spruce woods and is available in various colours, patterns, and sizes.
Engineered hardwood flooring typically consists of a real hardwood top layer and several plywood layers beneath it. It is ideal for kitchens, basements and bathrooms where humidity can cause solid hardwood to warp. It generally has a genuine wood top layer, which means it may be sanded and refurbished 1-3 times. It is more stable, which prevents it from gapping and cupping. It also can be installed in a variety of ways. Engineered hardwood floor is available in the same designs and textures as solid flooring, but it has versatile options.
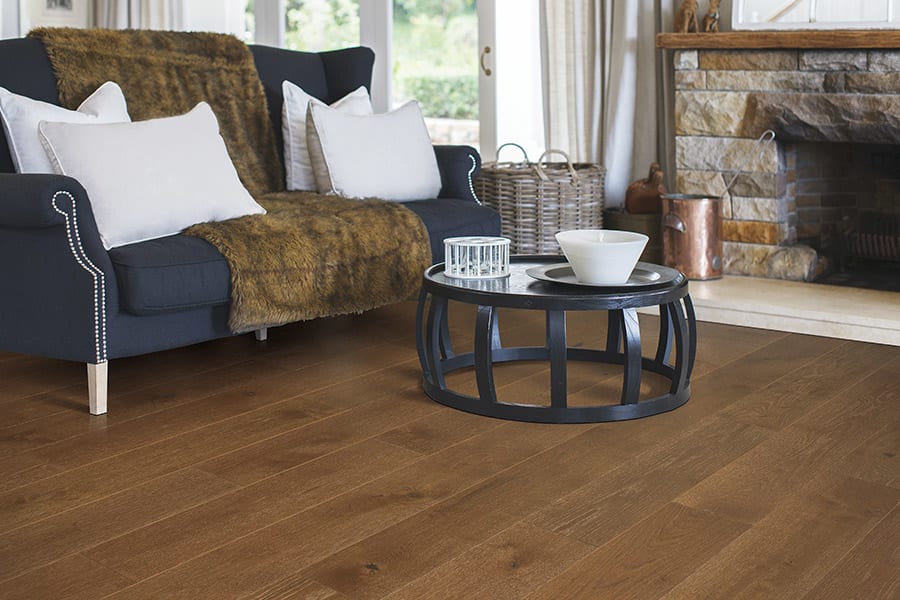
Hardwood flooring may be customized in a variety of ways. Engineered wood flooring, for example, is made up of many layers bonded together. Because only the top layer is visible, it is created with high-grade wood. The other layers, such as plywood, are composed of less expensive wood. It has a multi-ply construction that adds stability and is excellent for situations where solid hardwood cannot be placed.
Solid hardwood:
This type of flooring is made of 100% wood, with each board taken from a single solid wood and further cut down to the desired size. Solid wood is preferred by those who want a floor that is completed on-site or who appreciate the appearance of a solid wood floor. Solid wood is attached to plywood flooring and must be installed equally to or above grade level. If not appropriately cared for, solid wood can become vulnerable to humidity levels, which can result in cupping or gaping. The benefit of using solid wood flooring is that it can be refinished multiple times to retain that smooth texture. It is also easy to manage and clean, lasts longer than most hardwood floors and adds charm to your home.
Engineered hardwood:
This type of flooring is made from pine and spruce woods and is available in various colours, patterns, and sizes.
Engineered hardwood flooring typically consists of a real hardwood top layer and several plywood layers beneath it. It is ideal for kitchens, basements and bathrooms where humidity can cause solid hardwood to warp. It generally has a genuine wood top layer, which means it may be sanded and refurbished 1-3 times. It is more stable, which prevents it from gapping and cupping. It also can be installed in a variety of ways. Engineered hardwood floor is available in the same designs and textures as solid flooring, but it has versatile options.
Hardwood flooring may be customized in a variety of ways. Engineered wood flooring, for example, is made up of many layers bonded together. Because only the top layer is visible, it is created with high-grade wood. The other layers, such as plywood, are composed of less expensive wood. It has a multi-ply construction that adds stability and is excellent for situations where solid hardwood cannot be placed.
Request a consultation
Hardwood flooring buying guide
Both solid and engineered hardwood floors add beauty and curb appeal to your home, wherever they are installed. Here are a few factors that can help you choose the right hardwood flooring according to your needs:
- Flooring materials: Many types of exotic woods are being added every year like Brazilian Koa and cherrywood, sakura, tigerwood, teak, and kempas. Domestic woods include red and white oak, ash, maple, walnut, cherry, hickory, birch, yellow birch, mahogany, and pine. You can choose the right type of wood species according to your needs.
- Width of the flooring: You can find hardwood as narrow as 2 ¼" and as wide as 7", or sometimes wider. Generally, narrow widths are used to give a more formal or contemporary feel to a room. Wider widths are associated with design schemes like country, old world, French provincial and colonial.
- Wear and durability: Solid hardwood flooring is very durable because it is made from a single piece of wood. If the floor is maintained properly, it can last anywhere from 75 to 100 years. But refinishing is needed after every 8-20 years, depending on how heavy the traffic (footfall) is in your home. When it comes to engineered hardwood, the thicker it is, the longer it will last. It can be sanded down or refinished two to three times during the lifetime of the flooring.
- Leading brands and current trends: People look for a simple and old-fashioned charm in the context of wider planks and reclaimed wood, both increasing in popularity. Every year new exotic woods are introduced. Presently, some of the popular ones are sakura, kempas, Brazilian cherrywood, tigerwood, and teak.
Hardwood floor installation guide
You can either install the floor on your own or hire our team of professionals. In case you are not sure you can manage to do it well on your own, we suggest you opt for professional installation of your hardwood flooring because a wood floor that is properly installed has a longer lifespan.
The tools and supplies needed for installation are a tape measure, pencil, framing square, coping saw, hammer, jamb saw, glue knife, circular saw, jigsaw, air compressor, nailer, chalk line, and more.
The step-by-step installation process is as follows:
Step 1: Remove all of the baseboard or shoe moulding from the room. While removing it, ensure that you do not split the wood. Pry it away from the wall and when you find a nail, use a flat bar to pull the trim off the nail or use a hammer to remove the nail with the trim.
Step 2: If the installation of the first row is done efficiently, the remaining process can be completed smoothly. When possible, start along the longest run of outside walls in the room. Snap a chalk line 3/8" out from the base of the wall, and align your wood planks with the chalk. The gap will be covered by moulding, and you will get off to a straight start.
Step 3: To install over a wood subfloor, you need to use your nailer to drive fasteners through the groove and into the floor at a 45-degree angle. You need to ensure that the nail head is level with the wood, or slightly below the surface. Adjust your nailer to get the right depth. Put in a staple every 6" to 8".
If you are gluing the flooring to concrete or tile flooring, apply the glue to the bottom of each plank with a knife. When gluing, gently tap the piece using the tapping block so that the tongue fits tightly into the groove.
Step 4: Start the second row by choosing a piece of a different length than the first one. Add glue if necessary. Gently tap the piece with the tapping block so that the tongue and groove fit snugly. Then, staple the piece if you are using a nailer. Continue with this method row by row throughout the room.
Step 5: The most challenging part of the installation process is trimming pieces to fit around floor vents, pipes and through door jambs. Take time to measure twice, and perhaps you will need to cut only once. You can use a jigsaw and cope saw for these cuts.
Step 6: When you get to the far side of the room, you will have the same issue you started with. Here, your nailer would not fit and so you will have to drill pilot holes and blind nail the boards using a nail set.
Once the floor field is in place, replace the old trim or add new trim along with thresholds to complete the project.

Maintenance, care and cleaning of hardwood flooring
The easiest method of keeping hardwood floors clean is to sweep them regularly and then clean them with a slightly damp mop. You can also use an alcohol-based floor cleaner kit once a month, or as needed. You should follow basic techniques to avoid scratches, dents, and water damage on your floor.
One of the advantages of solid hardwood flooring is that it can be refinished multiple times before replacing it. Depending on the level of traffic on your floor, refinishing may be needed after 20 years. The average age for refinishing is 12 years.
One of the advantages of solid hardwood flooring is that it can be refinished multiple times before replacing it. Depending on the level of traffic on your floor, refinishing may be needed after 20 years. The average age for refinishing is 12 years.