Natural Stone, Porcelain and Ceramic Tiles in Windsor
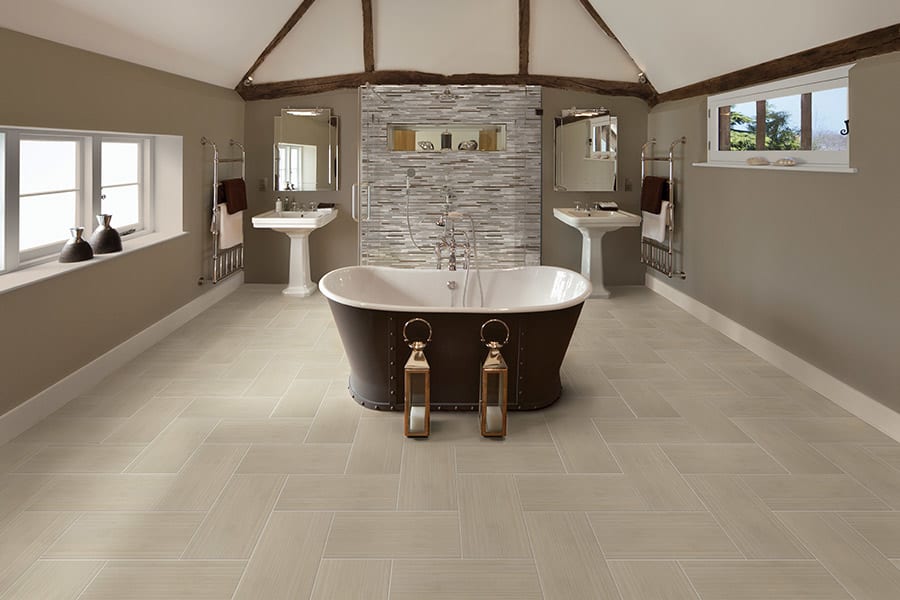
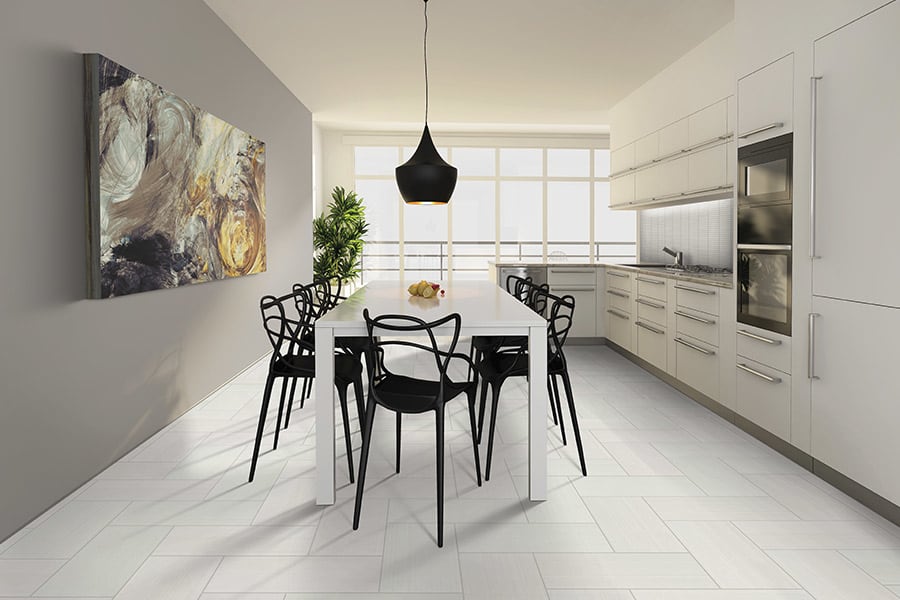
Marquis Tile brings to you a wide range of beautiful tiles for your new home or renovation. When it comes to tile flooring in Windsor, we have endless possibilities. Porcelain and ceramic tile are the two durable materials that are often used on floors and walls of bathrooms and kitchens.
The ultimate canvas for flooring design, no look is out of reach for today’s porcelain. While stepping on ceramic tile flooring, you will feel the apex of thousands of years of refinement. You can also hire us to install natural stone tiles in your kitchen.
To learn more about our ceramic tiles in Windsor and our other products, please don’t hesitate to speak to us. If you need inspiration for your next project, we invite you to peruse our look book. We recommend checking out our blog to know more about our products and services.
Options for your tile flooring
The range of tile flooring options we offer includes:
Porcelain tiles:
They are commonly used for floors and walls, as they can absorb water. These tiles are available in both glazed and unglazed forms.
Ceramic tiles:
These tiles are also used for floors and walls and are made up of sand, natural products, and clays. They are durable, resistance, and does not lose colour when exposed to sunlight.
Natural stone tiles:
Manufacturers cut them from natural stones like granite, limestone, and sandstone. Depending on your requirement, you can choose suitable natural stone tiles.
Do you need more information about our porcelain, natural stone and ceramic tiles in Windsor? Please reach out to our team.
Request a consultation
Tile buying guide
Ceramic tile and stone are the oldest flooring types in the world and are popular today because they are affordable, durable, and attractive. Here are a few factors that can help you choose the right tile flooring according to your needs:
- Materials, lengths, and patterns: Ceramic tiles are available in different patterns, colours, sizes, and designs. From one-inch square tiles to 48-inch long tiles, you can find them all in our showroom. Made from clay and mineral, these tiles make good insets or accent pieces. They are easy to clean, durable and available in various styles as well as textures. If you have kids or pets, consider textured tiles because they are less slippery and a safer flooring option. With a greater density, porcelain is more resistant to moisture, thereby ideal for bathroom floors. Depending on the type of stone you select, stone tiles can complement a wide range of styles from rustic to contemporary. You will also find that no two tiles are alike, giving your space unique character.
- Wear and durability: Tile and stone are the toughest and most durable home flooring choices. Ceramic tile is made in different grades. The higher the grade, the more resistant it is to scratching and chipping. It is found that marble is not as strong as slate or granite, so it can be used in bathrooms and other locations where there will not be heavy traffic. Most ceramic tile and natural stone flooring should last over 50 years, and some will be in good shape for decades longer than that.
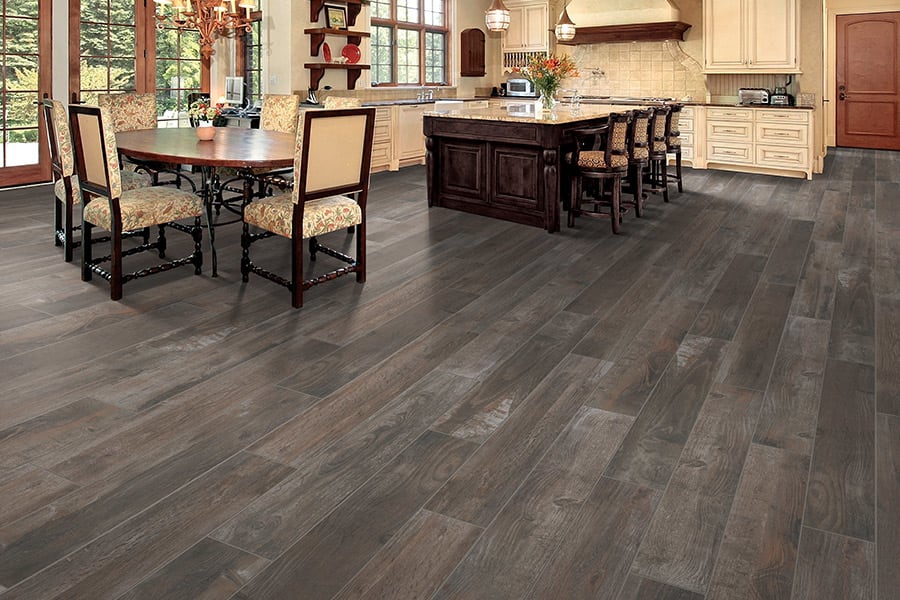
- Current trends: For stone, hues of gray and blue are increasingly popular, though sales of classic beige hues remain steady. In ceramic tiles, the move to larger tiles continues. Tiles 10" square and larger are the fastest growing segment of the industry. Textures like the ones that simulate leather, wood grain or fabric are getting a lot of attention.
Tile installation guide
Installation of tile and stone flooring is very labour intensive, especially ceramic tile. Therefore, call our professional to install the floor in your home. However, if you choose to install the floor on your own, explore the step-by-step process given below. The tools and supplies required for installation include a tape measure, T-square, chalk line, pencil or marker, a mortar trowel, tile or stone saw, orbital sander, a chisel, and hammer.
Steps for the installation process are:
Step 1: Remove any existing flooring, the shoe moulding and toe kicks.
Step 2: Most installers will snap chalk lines onto the floor to produce a pattern for the natural stone flooring slabs or ceramic tiles. For tile, installers will often lay a single line of tile without mortar to get an idea of how the tile will fit the room.
Step 3: Installers lay the second row opposite to form a "T" shape.
Step 4: Further, the form becomes the guideline for installation of the tiles. Mortar should be applied directly to the substrate using a notched mortar trowel.
Step 5: Installers use a 10" diamond blade for cutting the material. Some tile installers use this tool even though tile is much softer, and they can trim small pieces to fit with tile snips.
Step 6: Once the natural stone flooring or ceramic tile is in place, adding the grout is the next step. With tile flooring, the grout is an essential part of the visual appeal, thereby you should have the right type with you.
Once your flooring installation is complete, you or a trim carpenter can put the moulding and toe kicks back on. Generally, you should wait 1-2 days before there is any heavy traffic on the floor. For specifics, please ask your tile dealer or installer.

Tile flooring maintenance and care guide
Natural stone and tile flooring should be kept clean and maintained to ensure they look their best. Both types of flooring can be mopped using a soft, dry mop. You can use a vacuum, but make sure it has a "Hard Floor" mode that does not use a rotating brush.
You should not use abrasive cleaners like liquid soft scrub type cleaners as they can scratch and dull the surface of tile or natural stone flooring. Cleaners containing acids, such as lemon cleaners or vinegar, should also be avoided.
The acid can harm the sealer on stone flooring or stain the grout on tile flooring. Depending on the porosity of your natural stone flooring, it may need to be resealed every few years.
If the tile grout becomes discoloured, it can be bleached to make it white or light again.
Both of these types of flooring should last over 50 years, so replacing them should not be required any time soon.